Looking good on video really comes down to three things: your tech setup, how you present yourself, and how you act on camera. Once you get the hang of the basics—like lighting, camera angles, and confident body language—you'll completely change how you show up in every meeting, webinar, or recording. It’s all about making small, deliberate tweaks that have a huge impact.
Why Your On-Camera Presence Matters Now
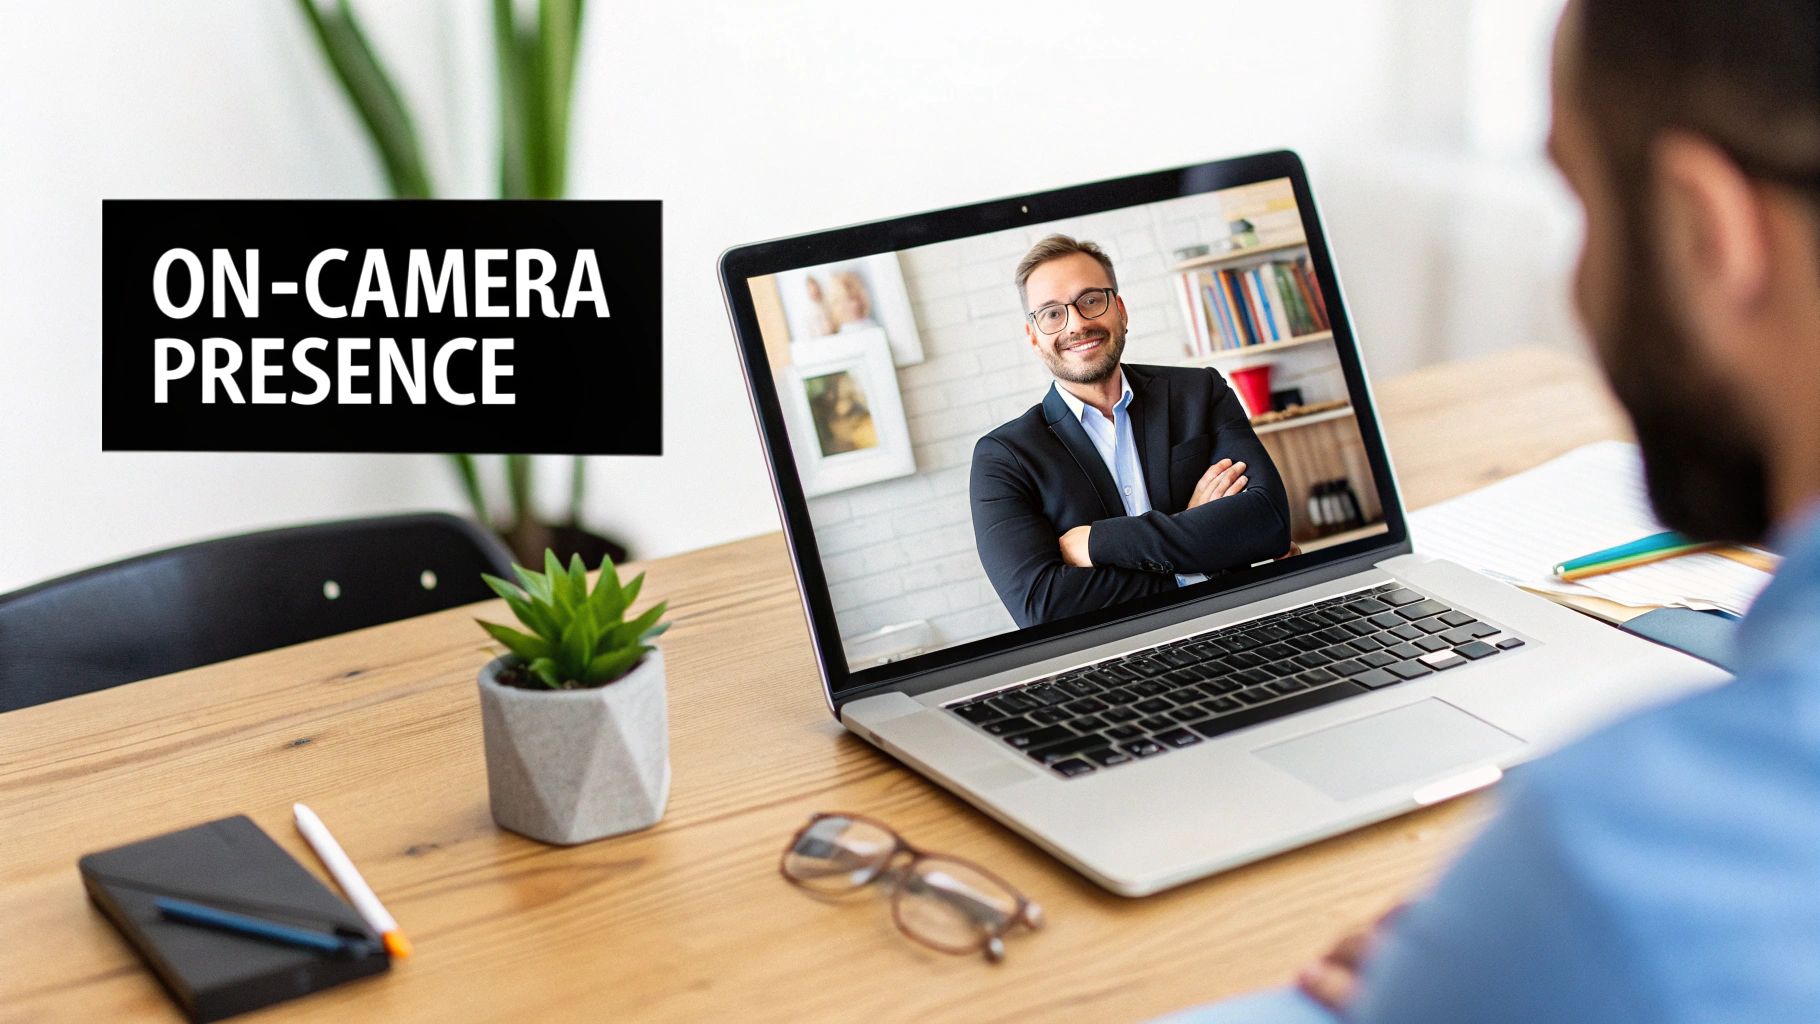
Let's face it, video calls are here to stay. Whether you're catching up with your team, pitching a new client, or creating content for your audience, how you appear on screen is now a huge part of your professional brand. Looking put-together isn't about being vain; it's about showing that you're confident, capable, and someone worth listening to.
Think about it: when you show up looking clear, well-lit, and engaged, you instantly grab people's attention and start building trust. But if your setup is a mess—bad lighting, a weird camera angle—it's just distracting. It can completely undercut your message before you’ve even had a chance to say a word.
The New Standard of Professionalism
With so many of us working remotely or in hybrid setups, being good on camera is no longer a "nice-to-have" skill. It's a core professional competency. The global video conferencing market is expected to hit $37.29 billion by 2025, and an incredible 86% of employees are already using it every single week. When platforms like Zoom are hosting 300 million meetings a day, your digital first impression matters just as much as your in-person one.
In this guide, I'm going to walk you through some practical, no-nonsense strategies to step up your on-camera game. We’ll cover:
- Your Technical Foundations: Simple adjustments for your camera, lighting, and what's behind you.
- Your Personal Presentation: How to choose the right clothes and groom for the camera.
- Your Performance Skills: Using body language and your voice to connect with your audience.
The goal is simple: I want to help you look your best without needing a fancy studio. By nailing these fundamentals, you can make sure your ideas—not your blurry webcam—are what people focus on.
Putting a little effort into how you look on camera is a direct investment in your professional image. And if you're creating videos that need to be polished, tools that handle the tedious editing for you can be a lifesaver. You might want to check out how services from Tubentum can automatically trim out awkward silences and filler words, making your final video look even more professional.
Getting Your Tech Right Before You Hit Record
Before you even think about what you’re going to say, your technical setup is already telling a story. Your camera, lighting, and background are the bedrock of a professional video. Get these three things right, and you're already 80% of the way to a great final product.
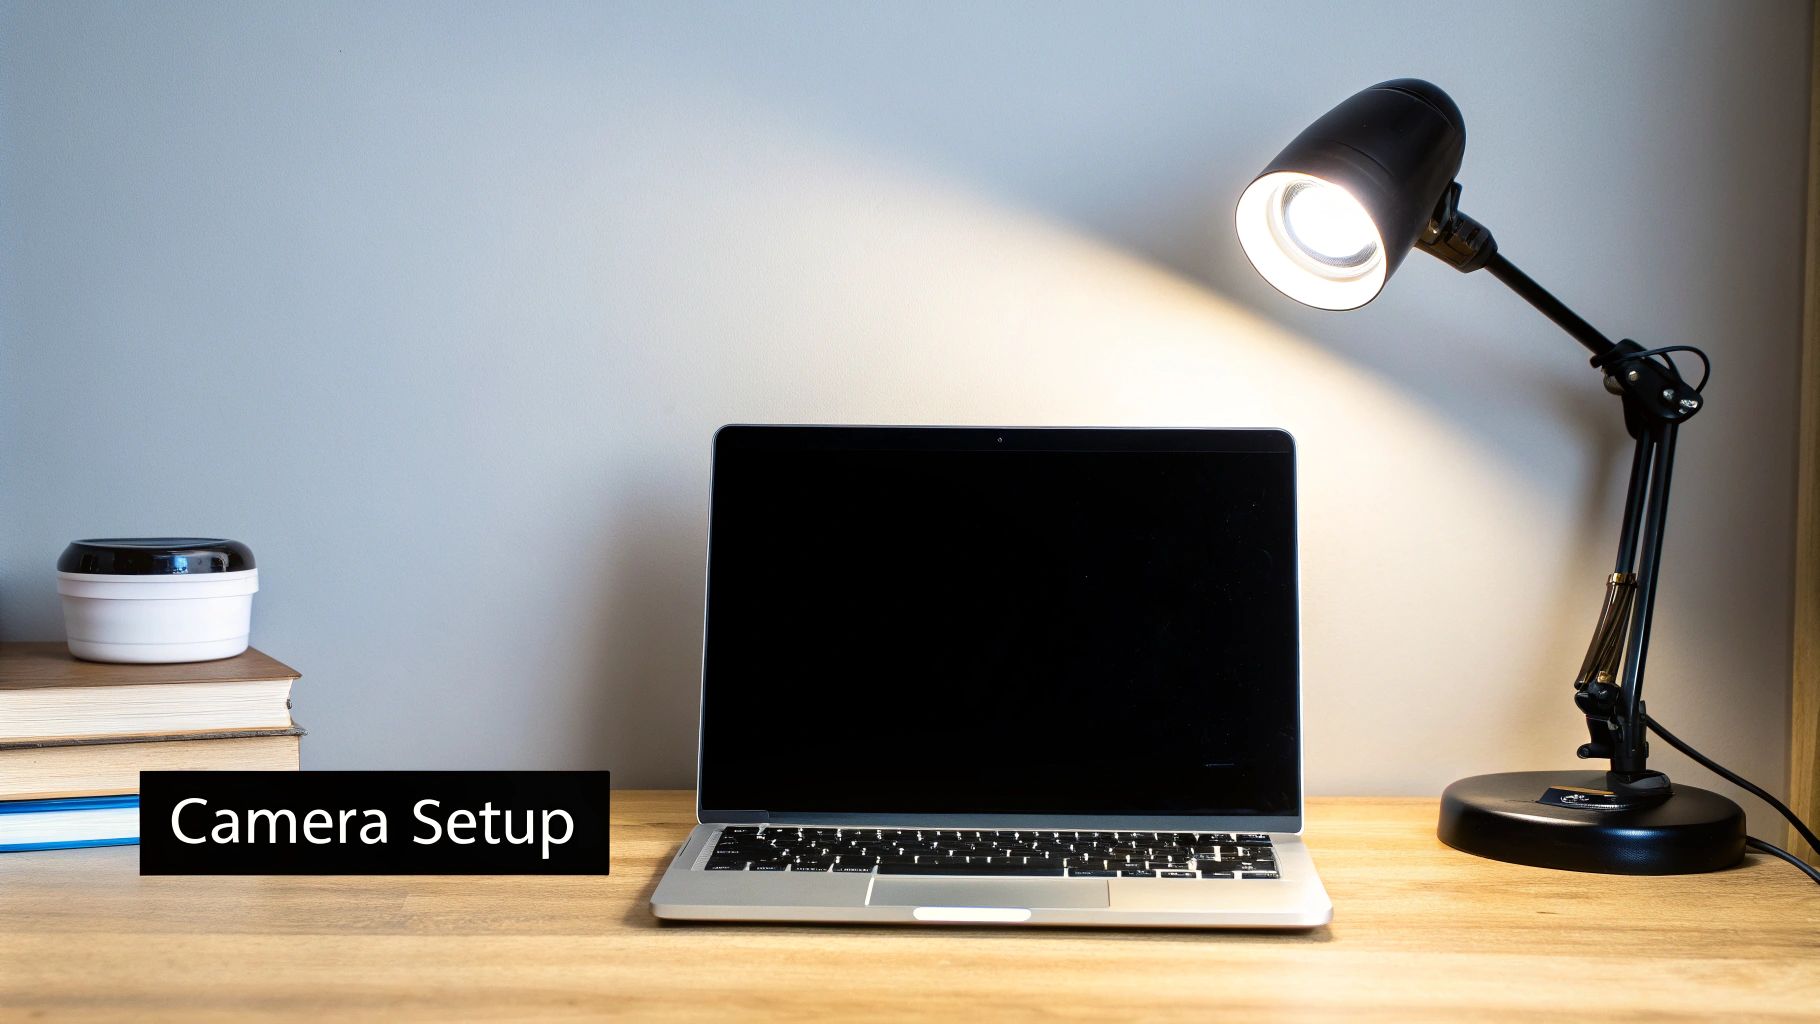
Think of it this way: your camera can't see what isn't lit. The single biggest improvement you can make is to place your main light source in front of you, not behind or above you. This one tweak instantly brightens your face, puts a little sparkle in your eyes (called a catchlight), and makes you look far more engaged.
Find Your Best Light
The easiest and cheapest light source is a window. Natural daylight is incredibly flattering. If you can, set up your desk so you are facing a window. You'll get a soft, clean look without spending a dime.
Of course, that’s not always possible, especially if you’re recording at night. No worries. A simple desk lamp or a ring light can do the trick. Just place it slightly above your camera and angle it down. The goal is simple: get rid of those distracting shadows under your eyes and nose.
A huge mistake I see all the time is people relying on their overhead room light. This is a recipe for disaster. It casts harsh, downward shadows that make you look tired and, frankly, a bit creepy. Always prioritize front-facing light.
Master Your Camera Angle and Framing
How you angle your camera directly impacts how people perceive you. The golden rule here is to get your camera to eye level. It creates a feeling of connection, like you're talking to someone right across the table.
A low angle looking up is never flattering—it's all chin and nostrils. An angle that's too high can make you look small and unimportant. An easy fix? Just prop your laptop on a stack of books or a stand until the lens is looking straight at you.
With the height sorted, let's talk framing.
- Rule of Thirds: Imagine a tic-tac-toe grid on your screen. Try to position your eyes along the top horizontal line. It’s a classic composition trick that just looks right.
- Headroom: Leave a little bit of space above your head, but not too much. Too little space feels claustrophobic, while too much makes you look lost in the shot.
- Go for a Mid-Shot: Frame yourself from the chest or waist up. This looks much more natural and allows for hand gestures, making you appear more dynamic than a tight facial close-up.
Getting this right matters more than ever. With 86% of companies using video for interviews and 75% of employees relying on it for remote work, a polished setup is non-negotiable. Good lighting and framing also help combat video fatigue, keeping your audience locked in. If you're interested in the data, there are some great insights into video conferencing technology trends.
Choose a Background That Doesn't Steal the Show
Your background is the supporting actor, not the star. A messy or busy background screams unprofessional and pulls focus from your message. You don't need a perfectly staged library, just a space that looks clean and intentional.
We all start somewhere, but a few small tweaks can make a huge difference in how professional you look on camera.
Quick Fixes for Your Camera and Lighting
| Problem Area | Common Mistake | Professional Fix |
|---|---|---|
| Lighting | Sitting with your back to a window or using only an overhead light. | Face your primary light source (like a window or lamp) to light up your face. |
| Camera Angle | The camera is looking up at you from your desk. | Use books or a stand to raise your camera to eye level for a direct, engaging shot. |
| Framing | Too much empty space above your head or a super tight close-up. | Frame yourself from the chest up, leaving a small amount of headroom. |
| Background | A cluttered room, an unmade bed, or people walking behind you. | Find a simple wall or a tidy corner. Control what your audience can see. |
| Virtual Background | A glitchy, pixelated green screen that cuts off your hair and hands. | Use a clean, real background whenever possible. It's almost always better. |
A simple, uncluttered background shows you’re organized and have your act together. It creates a distraction-free zone where your message can be the main event.
If you’re looking for more ways to level up your entire video workflow, we've put together a list of the best tools and resources for creators to help you out.
Choosing Your On-Screen Wardrobe and Look
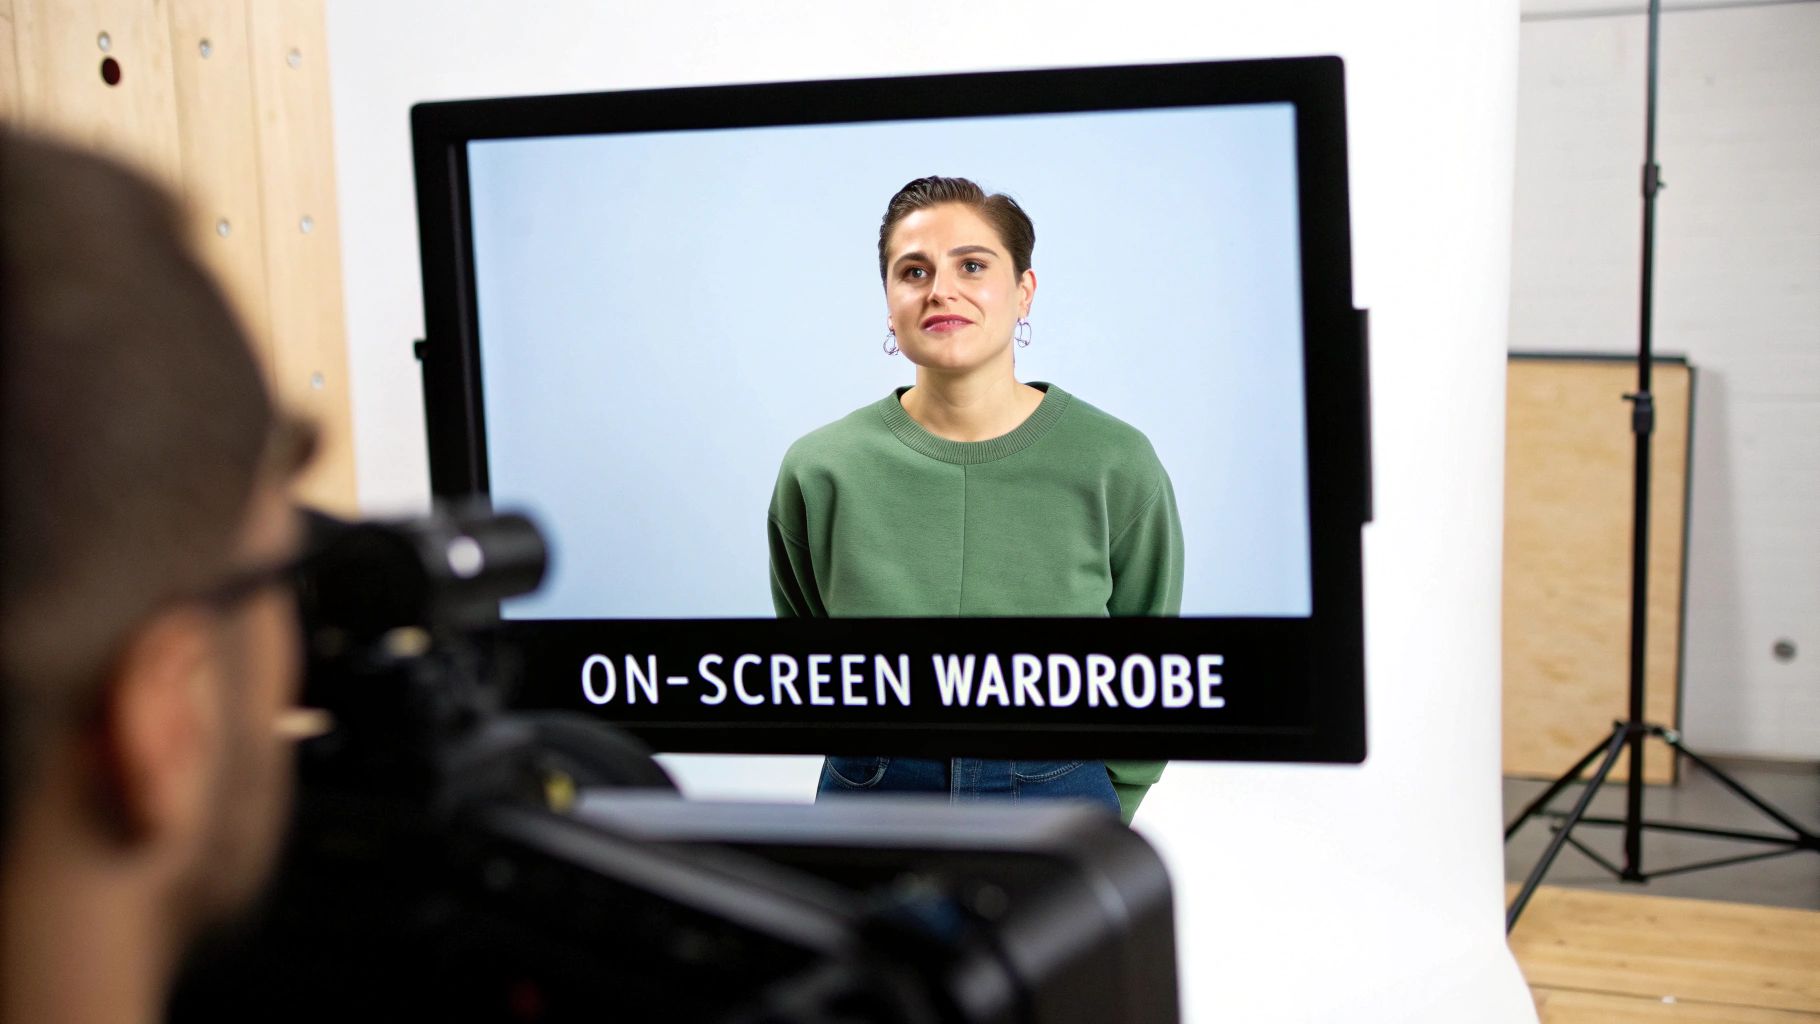
Before you even say a word, what you wear sends a message to your audience. It’s not about being a fashion icon; it’s about visual strategy. Your clothing is a tool that can convey authority and personality, so you want to be intentional with your choices.
The camera sees things differently than the human eye. An outfit that looks fantastic in the mirror can turn into a distracting disaster on screen. The whole point is to make sure your message remains the focus, not your shirt.
Embrace Camera-Friendly Colors
When it comes to video, solid colors are your best friend. They create a clean, simple look that keeps the viewer's attention right where you want it: on your face.
Jewel tones are almost always a winning choice. Think sapphire blue, emerald green, or a rich purple. These colors are saturated enough to pop on screen without being loud, and they complement most skin tones beautifully. They help you stand out from your background in a polished, professional way.
On the flip side, you’ll want to be careful with pure black or bright white.
- Bright White: This color can trick your camera's exposure, making your face look dark. It often gets "blown out," meaning it becomes a bright blob with no detail.
- Solid Black: Black tends to absorb all the light, which can hide the details and shape of your clothing. Against a dark background, you might look like a floating head.
If you love these classic neutrals, just opt for a slight variation. An off-white, cream, or charcoal grey will give you a similar vibe without causing technical issues for your camera.
Your wardrobe choices should complement your background, not compete with it. If your background is a neutral grey, a pop of color in your shirt helps you stand out. If you have a blue wall, wearing a different, complementary color like green or purple will look much better than matching it.
Avoid Distracting Patterns and Textures
I know that patterned shirt might be a core part of your style, but it can cause some serious visual chaos on camera. Intricate designs, especially fine lines, often create a bizarre shimmering effect known as a moiré pattern. It’s incredibly distracting and looks like a technical glitch.
To keep your look clean and professional, just follow these simple rules:
- No Thin Stripes: These are the most common cause of the moiré effect.
- Skip Busy Prints: Small, tight patterns like houndstooth, complex florals, or paisley draw the viewer's eye away from you.
- Watch Out for Logos: Unless it’s your own company’s branding, a big logo on your chest is just free advertising for someone else and can pull focus.
When in doubt, simple is always better. A solid-colored shirt, maybe with a very subtle texture, ensures you are the star of the show. Remember, your wardrobe is there to support your message, not steal the spotlight.
Projecting Confidence Through Body Language
Once your lighting is flattering and your camera is framed just right, the spotlight swings over to you. Your performance—how you carry yourself, how you speak—is what will actually connect with your audience. This is where you go from just being seen to being heard, and it all starts with what you're saying when you're not even speaking.
Looking good on video isn’t just about the tech setup. It's about projecting an energy that builds trust and keeps people from clicking away. A few simple tweaks to your body language can completely change how you come across, making you seem more authoritative, friendly, and genuinely confident.
Master Your Posture and Presence
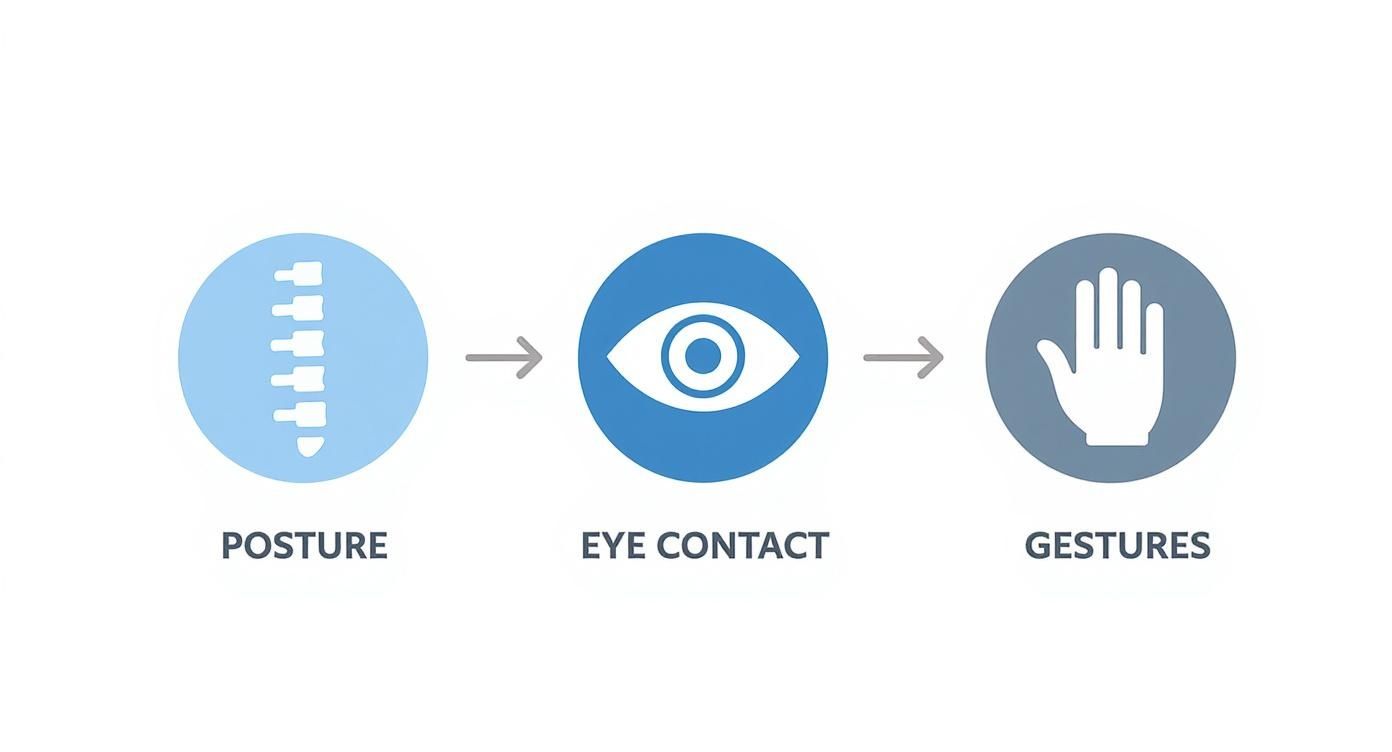
Want the fastest way to look more dynamic on camera? Fix your posture. Slouching is a killer—it immediately signals low energy or disinterest. The fix is easy: sit up straight, roll your shoulders back and down, and lean just slightly toward the camera.
This small adjustment does a lot of heavy lifting:
- It literally opens up your diaphragm, so you can breathe deeper and project your voice with more power and clarity.
- It tells your audience you’re engaged and focused on them, like you’re leaning in to share something important.
- Honestly, it just makes you look more alert and alive, which is critical for holding attention on a screen.
Try this: imagine an invisible string gently pulling the crown of your head toward the ceiling. It’s a simple mental cue that helps you lengthen your spine and look confident without feeling stiff or unnatural.
Make Real Eye Contact with the Lens
This is the golden rule, the one you can’t ignore: when you are speaking, look directly into the camera lens. It feels weird at first. Your brain wants you to look at the person's face on the screen, but doing that makes it look like you're staring off into space.
Looking into the lens is the only way to create the feeling of direct eye contact with the person watching. It makes each viewer feel like you’re talking directly to them, which builds a powerful, personal connection that's impossible to achieve otherwise.
Here's a little hack I use: stick a small, brightly colored post-it arrow next to your webcam, pointing right at the lens. It gives your eyes a friendly target and serves as a constant reminder of where your focus should be.
When it's your turn to listen, it's totally fine to look at the screen to read the room and see others' reactions. Just make a conscious effort to shift your gaze right back to the lens the second you start talking again.
Use Your Hands and Voice to Pull People In
Your body language is more than just sitting still. Using your hands to emphasize points can make what you're saying feel much more alive and engaging. The key is to keep your gestures within the frame—think of a box between your chest and shoulders. That way, they add to your message without becoming a distraction. Just try to avoid nervous habits like fidgeting, which can undermine your credibility.
Your voice is just as crucial. A flat, monotone delivery is the fastest way to put your audience to sleep. Instead, consciously play with your vocal delivery.
- Pace: Slow down for the really important stuff. Speed up a bit when you're telling a quick story or running through a list.
- Pitch: Let your voice rise and fall naturally. A little upward inflection on a question or a lower tone for a definitive statement keeps people listening.
- Volume: Get a little louder to show excitement, or drop your voice to a near-whisper to draw your audience in for a critical insight.
At the end of the day, taking the time to prepare your appearance and your space is really about feeling good yourself. A 2025 study found that people who intentionally worked on their on-screen look—from grooming to their background—reported feeling way less anxious. You can check out the full findings on visual presentation and presenter confidence. It just goes to show that taking control of how you look on camera is a powerful step toward feeling more comfortable and delivering a message that truly lands.
A Simple Workflow for Polished Videos
Knowing how to look good on video is only half the battle. The other half is figuring out how to create polished content without spending your entire week editing. A stellar on-camera performance can get completely lost in a clunky, time-sucking post-production process.
The secret is having a smart workflow from start to finish. This process actually begins before you even think about hitting the record button. Having a clear structure—even a simple one like a hook, main content, and call to action—gives you a roadmap. It keeps you on track during filming and makes sure your final video flows logically for your viewers.
Nail Your Delivery with a Teleprompter
Let's be honest: trying to memorize a script is a recipe for disaster. It's stressful and almost always results in a stiff, unnatural delivery. Instead of aiming for perfection, use technology to your advantage. A teleprompter app is an absolute game-changer for anyone who wants to speak confidently without constantly fumbling for words.
These apps scroll your script right on your phone or tablet, which you can place near your camera lens. This lets you read your lines while maintaining that crucial eye contact, creating a natural, conversational feel. Most apps even let you control the scroll speed to match your own speaking rhythm, so it never looks like you're just reading.
A teleprompter frees you from the pressure of memorization. Instead, you can focus on what really matters: your energy, your facial expressions, and genuinely connecting with your audience. It’s about delivering your message with passion, not just reciting lines from memory.
Streamline Your Post-Production
Once you’ve captured your footage, the real work begins. Editing is where so many creators get stuck, spending hours slicing out awkward pauses, hunting down every "um" and "ah," and trying to find the perfect opening clip. Having a streamlined editing process is the key to avoiding burnout and actually getting your content published consistently.
Manually combing through your timeline for every little imperfection is tedious work. This is where AI-powered tools like Tubentum can completely change your workflow. Instead of painstakingly trimming dead air and hunting for filler words, Tubentum handles the grunt work automatically.
- Automatic Silence Removal: The tool intelligently tightens up or completely removes long pauses, keeping your video’s pacing sharp and engaging.
- Filler Word Detection: The AI finds and zaps filler words like "um," "ah," and "you know," cleaning up your audio in a fraction of the time.
- AI-Generated Hooks: Tubentum can even analyze your footage to create compelling intro hooks, grabbing viewer attention right from the start.
When you automate these repetitive tasks, you get to shift from being a manual editor to a creative director. This not only saves you countless hours but also leads to a much more professional final video. For more deep dives into optimizing your video process, check out the resources on the Tubentum blog.
Quick Answers to Common On-Camera Questions
Even after you've nailed down the basics, some specific questions always seem to pop up right before you hit record. Let's tackle some of the most frequent ones I hear from creators trying to get their on-camera look just right.
What’s the Best Color to Wear on Camera?
There's no single magic color that works for everyone, but some are definitely safer bets than others. I always recommend solid jewel tones—think sapphire blue, emerald green, or a rich ruby red. These colors pop on screen, helping you stand out without being distracting.
What you really want to avoid is blending in. If your background is beige, don't wear a tan shirt. The goal is to create a nice, clean contrast between you and what's behind you. When you wear a color too close to your background or even your skin tone, you risk looking washed out or like a floating head.
My Two Cents: Stick with solid, saturated colors. It's the simplest way to make sure you are the clear focus of the video, not part of the scenery.
How Can I Stop Looking So Washed Out or Tired?
Nine times out of ten, this is a lighting issue. If you look tired, it's probably because your key light is in the wrong spot. Light coming from directly overhead or from behind you is the enemy—it creates weird shadows and makes you look flat.
The fix is usually pretty simple: get your main light source in front of you. Even a basic desk lamp placed behind your camera can make a world of difference. When that soft light hits your face head-on, it fills in those shadows and instantly makes you look more alert and vibrant.
Where Should I Be Looking When I Record a Video?
This is a big one, and it feels weird at first, but it's crucial for connecting with your audience. When you're talking, you need to look directly into the camera lens. Not at your own face on the screen, but right into that little black dot. That's what creates the feeling of direct eye contact for the viewer.
If you're on a call or interviewing someone, it's natural to look at their face on the screen while they're talking. But the second it's your turn to speak, consciously shift your gaze right back to the lens. It's a small habit that has a huge impact on how professional and engaging you appear.
Ready to stop wasting hours on tedious editing? Tubentum auto-magically trims silences, removes filler words, and creates engaging intro hooks from your raw footage in just one click. See how it works at Tubentum.