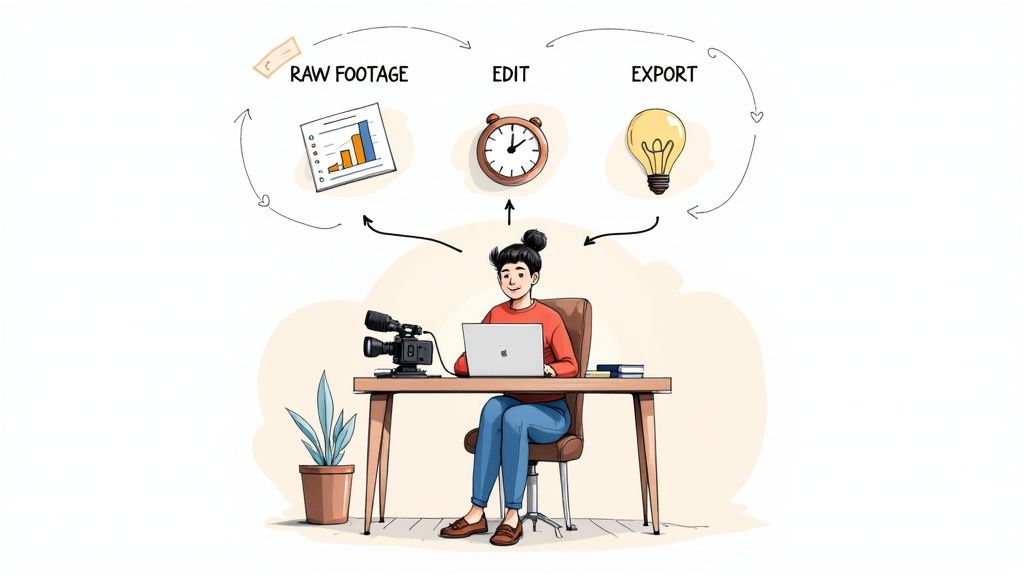
So, you’ve shot your footage and you’re ready to turn it into a powerful business asset. This is where the magic happens! We're going to walk through a simple, repeatable process that takes the guesswork out of video editing, especially for creators and businesses who need polished content without the Hollywood-level complexity.
Your Video Editing Journey Starts Here
Diving into video editing can feel like trying to learn a new language. You know how powerful video is for your brand, but staring at a timeline full of clips is intimidating. Let's change that. This isn't about becoming a cinematic genius overnight; it's about learning a practical workflow to create clean, professional videos that connect with your audience and drive results.
We'll ditch the confusing jargon and focus on what actually matters for creating effective business content. My goal is to give you a clear, step-by-step plan to transform that raw footage into a story that grabs attention and gets your message across.
Why You Only Need to Master the Basics
Here’s the good news: you don’t need to be a tech guru to make great videos anymore. The world of video editing has changed. In 2024, cloud-based platforms make up around 64% of the market, which means anyone can access powerful tools without needing a supercomputer. Small businesses, just like yours, are a huge reason for this shift.
This guide is all about the 80/20 rule—focusing on the fundamentals that deliver 80% of the impact for just 20% of the effort. We'll zero in on the things that truly make a difference for business videos:
- Organizing your project so you don’t waste valuable time.
- Cutting out dead air and filler words to keep viewers engaged.
- Making your audio sound crisp and professional to build trust.
The secret to great business video isn't about flashy effects; it's about clarity and momentum. A clean, well-paced video holds attention far better than one filled with distracting transitions.
From Manual Drudgery to Smart Automation
Of course, editing starts before you even hit record. Making sure you look your best on camera is half the battle. If you need some pointers, our guide on how to look good on video is a great place to start.
While learning the hands-on process is incredibly valuable, you should know that modern tools can give you a massive head start. Think about it: what if you could upload your raw footage and get a tightly edited draft back, with all the awkward pauses and mistakes already gone?
That's exactly what Tubentum is built for. It acts as your shortcut, automating the most time-consuming parts of the edit, like removing silences and filler words. This lets you focus on the creative side of storytelling—the part that grows your business. By the time you're done with this guide, you'll have a complete blueprint for creating fantastic videos, way faster than you thought possible.
Your Editing Starts Before You Open the Software
Before you even dream of making that first cut, the real secret to a smooth, stress-free edit lies in how you set up your workspace. Think of it like a chef’s kitchen—everything has its place. You wouldn’t start cooking a gourmet meal with ingredients scattered all over the counter, right? A little bit of organization upfront saves you from a world of pain later.
This isn’t about being rigid; it’s about creating a simple, repeatable system that frees up your brain to focus on the creative stuff. When you know exactly where to find every clip, graphic, and piece of music, you spend your time crafting your message, not searching for lost files. This one small habit is the first real step from fumbling around like a beginner to editing with the confidence of a pro.
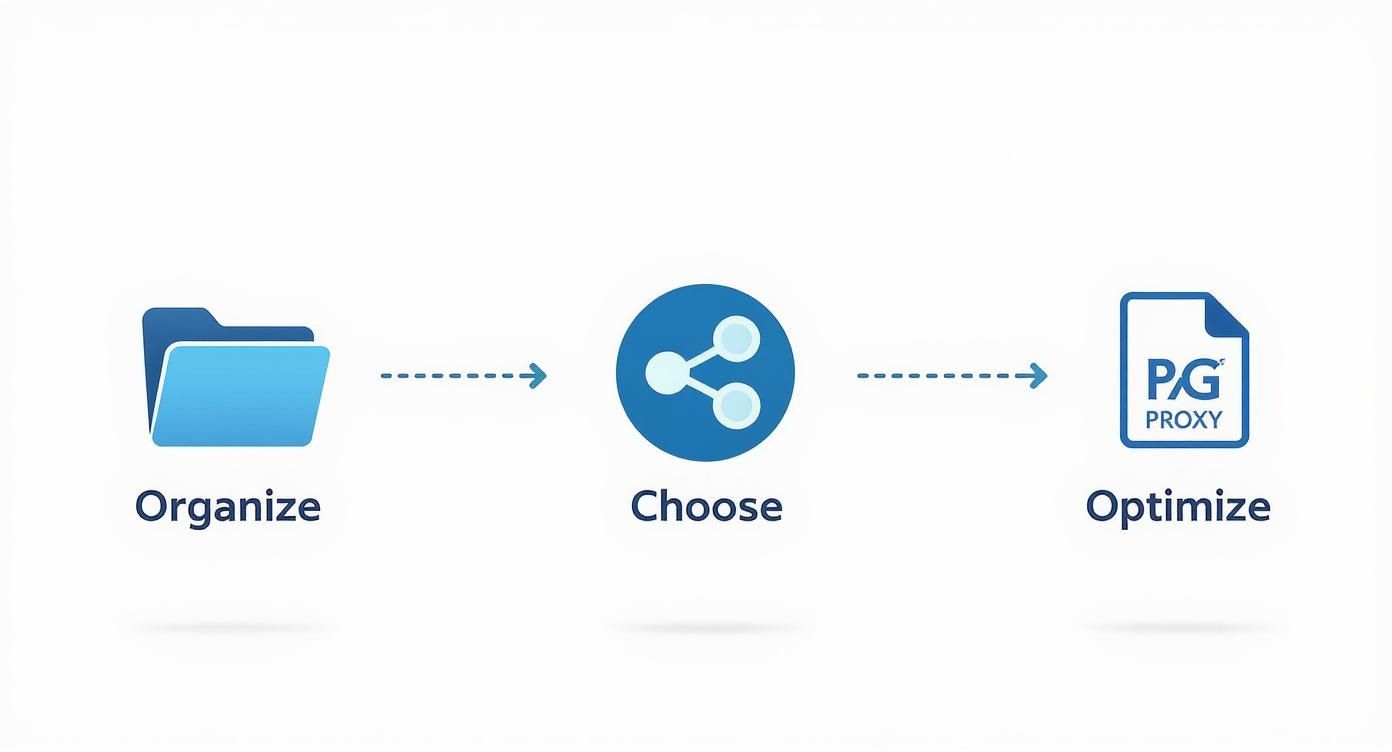
A Simple Folder Structure That Just Works
The most powerful thing you can do is create a dedicated project folder. Every time you start a new video, make a new master folder. Inside that, create a few key subfolders to keep your assets from becoming a digital junk drawer. This little ritual will save you from the dreaded "missing media" error that haunts every new editor.
A good starting point for business videos looks something like this:
- 01_Footage: This is for all your raw video clips, fresh from the camera.
- 02_B-Roll: For any extra shots—product close-ups, screen recordings, anything that adds flavor.
- 03_Audio: A home for your voiceovers, background music, and sound effects.
- 04_Graphics: Stick your logos, lower thirds, and any other visual elements in here.
- 05_Project Files: This is where you save the actual project file from your editor.
- 06_Exports: For all your beautiful, finished videos.
It’s a simple system, but it builds the foundation for an efficient workflow and ensures you can always find what you need in seconds.
Choosing Your First Video Editor
With your files neatly organized, it’s time to pick your tool. The good news? You’re starting at the best possible time. The market is packed with incredibly powerful and affordable options. While giants like Adobe Premiere Pro hold a significant 35% of the market, accessible powerhouses like DaVinci Resolve (15%) and Final Cut Pro (25%) are beloved by creators for a reason. You can dive deeper into these trends and discover more insights on video editing software statistics to see just how much the landscape has opened up.
A great beginner tool doesn't need a thousand confusing features. It needs the right features, presented in a way that just makes sense. For creating business content, what you really need is speed, simplicity, and tools that help you stay consistent.
Feeling paralyzed by all the choices? Don't be. Just focus on your main goal. Are you making quick, punchy clips for social media, or are you crafting longer tutorials for YouTube? That one question can help narrow it down.
Choosing Your First Video Editor
To help you decide, here's a quick look at some of the most popular choices for new creators.
| Software | Best For | Key Feature for Beginners | Pricing Model |
|---|---|---|---|
| DaVinci Resolve | All-in-one production on a budget. | Its free version is packed with professional-grade color and audio tools. | Freemium |
| CapCut | Quick, trendy social media videos. | Features auto-captions and a vast library of templates and effects. | Free |
| Filmora | Ease of use and quick learning. | Drag-and-drop interface with a library of pre-made assets. | Subscription/Perpetual |
| Adobe Premiere Rush | Editing across multiple devices. | Seamlessly syncs projects between your phone, tablet, and desktop. | Subscription |
These tools are fantastic for learning the ropes and getting your hands dirty.
But what if you want to skip the most tedious parts entirely? That’s where Tubentum comes in as your shortcut to the finish line. It’s built for busy creators and businesses who want to jump straight to the creative work. It can automatically handle the grunt work of removing silences and filler words, giving you a polished first draft to start with. It’s perfect for anyone who values their time and wants to focus on creating amazing content, not just editing it.
Mastering the Core Editing Workflow
Alright, with all your files neatly organized, it’s time for the fun part. This is where you roll up your sleeves and start sculpting your raw footage into a compelling story that serves your business goals.
Forget about fancy special effects for now. The most powerful edits are the ones your audience never even notices—they just feel the smooth, professional flow of your video. For business content, great editing isn't about flash; it's about clarity, momentum, and respecting your viewer's time. A well-paced video holds attention and makes your message stick.
Let's walk through the essential techniques that will give you the biggest bang for your buck.
The real secret here? A great edit starts long before you ever make a single cut. It begins with deliberate organization, which sets you up for a much smoother creative ride.
Trimming the Fat for a Tighter Narrative
Your first job is to be ruthless. Cut out everything that doesn't serve the story. I’m talking about all the awkward pauses, the times you repeated a phrase, and every single one of those pesky filler words—the "ums," "ahs," and "you knows."
Think of yourself as a sculptor. You’re starting with a big block of marble (your raw footage) and chipping away everything that isn't the final statue. Your goal is a seamless conversation where every single moment feels intentional and professional.
Honestly, hunting down and slicing out these little imperfections can be a soul-crushing task. For many new creators, this is the part of editing that turns an exciting project into a tedious chore.
This is where modern tools completely change the game. Instead of spending hours manually snipping out tiny pauses, a service like Tubentum can do it for you automatically. Its AI identifies and removes silences and filler words in one pass, handing you a clean, tight edit in minutes. It's the ultimate shortcut to a polished rough cut.
Making Conversations Flow with J-Cuts and L-Cuts
Once you've trimmed the obvious stuff, it's time to refine the flow, especially if you're making talking-head videos for your business. Just slamming one clip against the next—what we call a "hard cut"—can feel jarring and amateur. The secret to making your edits feel silky smooth lies in J-cuts and L-cuts.
-
J-Cut: This is when the audio from the next clip starts a moment before you see the video for it. Imagine your viewers hear you begin a new thought just before the camera cuts back to you. It builds anticipation and pulls them right into the next shot.
-
L-Cut: Here, the audio from your current clip keeps playing even after the video has cut to something else. This is perfect for reaction shots or cutting to B-roll. For instance, you could cut to a close-up of a product while your voice from the previous shot continues to explain its benefits.
These simple techniques overlap your audio and video, creating a natural bridge that feels infinitely more polished than a basic cut. They are fundamental skills for any editor and are surprisingly easy to pull off in most software.
Keeping Viewers Hooked with B-Roll
Let’s be real: staring at the same talking head for ten minutes can get boring, no matter how engaging the speaker is. This is where B-roll comes in to save the day.
B-roll is simply any extra footage you layer on top of your main video (the A-roll) to add visual interest and context. It’s the "show, don't tell" of business video editing.
Great B-roll can be anything:
- Screen recordings of a software demo.
- Close-up shots of a product you’re talking about.
- Stock footage that illustrates an abstract idea.
- Quick clips of you interacting with your team or working in your office.
By strategically dropping in B-roll, you reinforce your message, break up the visual monotony, and make your entire video more dynamic. It’s a simple trick that dramatically elevates the production value of your content, no complex effects needed. Getting these core techniques down is what will transform your raw clips into professional videos that truly connect.
Giving Your Video That Professional Sheen: Audio & Graphics
You’ve wrestled your footage into a coherent story and nailed down the pacing with sharp cuts. Now for the fun part—adding the layers that take your video from "good enough" to truly great. While your visuals are what catch the eye, it’s the audio and graphics that build trust and keep people locked in.
Think of it this way: people will forgive a slightly shaky camera or less-than-perfect lighting. But bad audio? That’s an instant deal-breaker for any business. This is where you elevate your work from a rough assembly to a polished, professional piece that commands attention.
Crystal Clear Audio Is Everything
There’s no bigger rookie mistake than inconsistent audio. If your viewer is constantly reaching for the volume knob—straining to hear you one second and getting their eardrums blasted the next—you've lost them. The goal is simple: make it sound clean, consistent, and free of distractions.
The first step is audio leveling, sometimes called normalization. This is just the process of making sure all your audio clips play at the same consistent volume. Most video editors have a simple tool for this; often, you can just right-click a clip and select "normalize audio." This ensures your voice, interviews, and any other sounds are all on the same playing field.
Of course, the real battle is often won or lost during recording. That low hum from the air conditioner, the faint echo of an empty room... these things can kill an otherwise great video.
Getting clean audio isn't just a nice-to-have; it's non-negotiable. Bad audio screams "amateur" and can completely torpedo your message, no matter how brilliant it is.
While you can spend hours fiddling with noise reduction filters, it's a tricky art. Go too far, and you'll end up sounding like a robot. Thankfully, modern tools give you a massive shortcut here. Instead of getting lost in complex audio plugins, you can follow a simple guide to remove background sound from your video and get a clean result in just a few clicks.
Setting the Mood with Music
With your main audio track sounding pristine, it’s time to bring in some background music. The right track can inject life and emotion into your video, turning a straightforward talking-head segment into something far more dynamic and engaging.
But where can you find music you can actually use without getting a copyright strike?
- YouTube Audio Library: This is an incredible free resource filled with thousands of tracks. You can search by genre, mood, or even how long the song is.
- Epidemic Sound: A go-to for many creators. It’s a subscription service that gives you access to a massive library of high-quality, royalty-free music and sound effects.
- Artlist: Another fantastic subscription option known for its beautifully curated music library and straightforward licensing.
Here’s a pro tip I learned the hard way: keep the music volume low. A good starting point is to set your music somewhere between -20dB and -30dB below your primary dialogue. It should be felt more than heard—it's there to support you, not to fight for the spotlight.
Guiding the Eye with Simple Graphics
For most business videos, graphics aren't about flashy special effects. They're about one thing: clarity. A few simple, well-placed visual aids can make your content infinitely easier to follow and direct your viewer's attention exactly where you want it.
You don’t need to be a motion graphics artist. Just start with these fundamentals:
- Lower Thirds: That little text banner at the bottom of the screen? That’s a lower third. Use it to introduce a speaker with their name and title. Stick to a clean, branded font that’s easy to read.
- Text Overlays: Want to drive a point home? Use a text overlay. They're perfect for emphasizing a key statistic, sharing a website URL, or quoting a source. Keep it on screen just long enough to be read comfortably—around 3-5 seconds is a good rule of thumb.
- Calls-to-Action (CTAs): Never end your video on a silent, black screen. Tell people what to do next! A simple end card with text like "Subscribe for More" or "Visit Our Website Now" can turn a passive viewer into an engaged follower or lead.
These finishing touches are what transform a simple edit into a powerful piece of communication, ready to work for you and your business.
Let Smart Tools Do the Heavy Lifting for You
Okay, you've got the fundamentals down. You know how to slice and dice your footage, trim the fat, and clean things up manually. That’s a crucial skill to have in your back pocket.
But what if you could skip straight to the fun part? What if you could let a robot handle the most mind-numbing parts of the job, freeing you up to focus on storytelling, adding creative flair, and making your video truly yours?
That’s exactly what modern AI editing assistants are for. Think of them as your very own editing apprentice, the one who does all the tedious first-pass work. They’ll hunt down every last "um," "ah," and awkward silence, so you can dive right into the creative flow.
Get Your Time Back with Automated First-Cuts
Let’s be real for a second. The manual process is a grind. You listen, find a pause, mark the in-point, mark the out-point, cut. Then you do it again. And again. And again—sometimes hundreds of times for a single video. It works, but it absolutely devours your time and creative energy.
This is where a service like Tubentum flips the script entirely. It was built with one goal: to hand that precious time back to creators and businesses.
Instead of you slogging through the raw footage, the AI takes the first pass.
- No More Dead Air: Tubentum's AI scans your video and instantly snips out every moment of unnatural silence. No more hunting for pauses.
- Filler Words, Be Gone: It goes even further, identifying and removing all those pesky filler words and stumbles that can make you sound less confident than you are.
The result? You don't get your raw footage back. You get a clean, tight, and professional-sounding draft. All the boring stuff is already handled. Now you can get straight to adding B-roll, finding that perfect background track, or adding graphics that make your message pop.
Think about it. You upload a 30-minute raw recording, and just a few moments later, you get back a polished 22-minute video that's ready for your creative touch. That's more than just a shortcut; it’s a complete transformation of your workflow.
The rise of AI tools has been a massive win for creators, making professional-quality video more accessible than ever. The AI video editing market is on track to hit an incredible USD 4.4 billion by 2033, and it's easy to see why. It’s this kind of automation that has empowered 67% of podcasters to jump into video and connect with a wider audience. If you want to see more stats, check out the impact of AI on video editing statistics.
The Smart Way to Stay Consistent
For any busy creator, entrepreneur, or marketer, consistency is the name of the game. And the biggest hurdle isn't a lack of ideas—it's the sheer time suck of post-production. Smart tools tear down that wall.
This screenshot from Tubentum's homepage says it all. It’s about getting from raw footage to engaging content, without the headache.
The whole experience is designed around the outcome—a great video—not getting lost in a maze of technical settings.
By automating that first-pass edit with Tubentum, you’re not just saving time on one video. You’re building a repeatable, scalable system for your entire content strategy. That daunting multi-hour edit suddenly becomes a manageable task you can knock out in an afternoon. This is how the most prolific creators seem to be everywhere at once. They aren’t working harder; they’re working smarter. To really nail this down, take a look at our guide on how to speed up your video editing process.
This isn't about letting a robot take over your creativity. It’s about letting it handle the grunt work so you can amplify what truly matters: telling a powerful story that resonates with your audience and builds your brand.
How to Export and Share Your Final Video
You’ve done it. You wrestled with the timeline, polished the audio, and now your masterpiece is ready. All that’s left is the final, crucial step that stands between your hard work and your audience: hitting 'Export'.
Getting this part wrong can be heartbreaking. The wrong settings can compress your crisp video into a pixelated mess or create a massive file that takes forever to upload. Let's make sure your video looks just as amazing on their screen as it does on yours.
This isn’t about becoming a compression expert or memorizing a hundred technical terms. It’s about knowing the handful of settings that truly matter for the platforms you use every day, like YouTube, Instagram, and LinkedIn.
Your Go-To Export Settings Demystified
Think of exporting like packing a suitcase for a trip. You want to fit everything you need (the quality) into a bag that’s easy to carry (the file size). For video, it boils down to three key things.
-
Codec (The Language): This is the method used to compress your video. For 99% of online video, H.264 is your best friend. It’s the universal language of the web, giving you that perfect sweet spot between great quality and a manageable file size.
-
Resolution (The Clarity): This is simply the size of your video. While shooting in 4K is fantastic, 1920x1080 (1080p) is the undisputed gold standard for most content. It looks sharp on everything from a tiny phone screen to a big desktop monitor, all without creating a beast of a file.
-
Frame Rate (The Smoothness): This is how many individual pictures flash on the screen every second. The golden rule here is simple: stick with what you shot in. For most cameras, that’s either 24fps (for a more cinematic feel) or 30fps. Matching the source keeps motion looking natural and smooth.
Your export settings are the final handshake with your audience. Getting them right ensures your message is delivered with the clarity and professionalism it deserves. It’s the last step in honoring the effort you’ve put in.
A Pre-Flight Checklist Before You Launch
Before you hit that render button and walk away, take 30 seconds to run through this quick mental checklist. It’s a tiny step that can save you the massive headache of having to re-export an hour-long video because of one wrong setting.
The "Looks Great Online" Checklist
- Format: MP4 (This is the universal container that holds your video)
- Codec: H.264 (The language everyone understands)
- Resolution: 1920 x 1080p (The sweet spot for quality)
- Frame Rate: Match Source (Keep it smooth and natural)
- Bitrate: For 1080p, aim for a variable bitrate between 10-20 Mbps. This is a fantastic target for high quality without a giant file.
This whole journey, from that first rough cut to the final export, can feel like a mountain to climb when you're starting out. While learning to do it all by hand builds incredible skill, the real goal is to get your message out there without spending all your time clicking buttons.
That's where a service like Tubentum can be a game-changer. It automates the most time-consuming parts of the editing process, letting you jump straight to the creative polish and get to this final export stage faster than you ever thought possible. You get to focus on your ideas, not just the mechanics.
Your Top Video Editing Questions, Answered
Jumping into video editing for the first time? It's completely normal to have a ton of questions. Let's tackle some of the most common ones I hear from new creators and business owners, so you can feel confident and ready to hit the ground running.
What's the Easiest Editing Software to Get Started With?
This is a big one. For businesses and creators focused on getting quality content out without getting bogged down by a massive learning curve, I almost always point them toward tools like CapCut or Filmora. They pack a serious punch but keep things simple and intuitive.
Now, if you're thinking long-term and want a tool you can truly grow into, you can't go wrong with the free version of DaVinci Resolve. It’s professional-grade software, but the basic editing tools are surprisingly easy for a beginner to pick up.
Realistically, How Long Will It Take to Edit a 10-Minute Video?
If you're just starting out and editing a simple 10-minute talking-head video, a good ballpark is anywhere from 2 to 4 hours. That timeframe covers everything: organizing your clips, trimming the fat, adding in some B-roll, and getting the audio just right.
This is where the biggest time-suck lives for most editors. Going through your footage frame-by-frame to snip out every little "um," awkward pause, and repeated phrase is what eats up the clock.
Honestly, this is the perfect place to bring in some help. An AI-powered tool like Tubentum was built for this exact pain point. Its core feature is automating that entire rough-cut process, which can literally shave hours off your workflow and free you up to focus on the fun, creative stuff.
Do I Really Need a Super Expensive Computer?
Thankfully, no. The idea that you need a beast of a machine to edit video is a bit outdated. While a powerful computer definitely makes complex 4K projects smoother, most modern software is built to run perfectly well on the average laptop or desktop.
If your computer does struggle, there's a brilliant trick called a "proxy workflow." In a nutshell, you create temporary, low-resolution copies of your footage to edit with. This takes a huge load off your system, making everything snappy and responsive. When it's time to export the final video, the software automatically switches back to the original high-quality files. It’s a complete game-changer.
Ready to ditch the most tedious part of editing and reclaim your time? Tubentum automatically cleans up your raw footage by removing silences, filler words, and stumbles with a single click. Start editing smarter, not harder, with Tubentum.